pots
Please login or become a member to start adding favourite plants & articles to your profile.
repotting a plant
QUICK TIPS:
1. Water the plant an hour ahead
2. Use fresh, premium potting mix
3. Don't pull the plant's stem
4. Tease roots outwards
5. Don't bury the plant's stem or root ball
6. Backfill firmly but gently
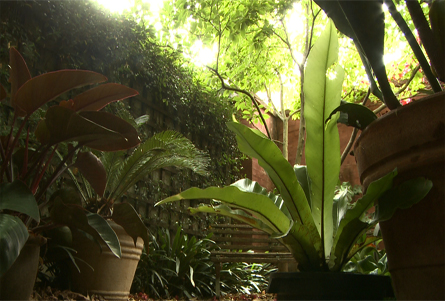
There's no need to fear the mysterious underground world of roots that confronts you when the time comes to re-pot.
That might be when a plant gets too big for its pot, it dries out too quickly or you've just bought a better pot. Re-potting in late winter will let the plant adjust before the growing season begins.
Start by preparing your plant with a good drink at least an hour before the operation.
Have ready a pot with drainage holes and enough fresh, premium potting mix which - unlike garden soil - will optimise nutrients, minimise soil-borne pests and disease, and balance moisture retention with good drainage. Specialised mixes are available for particular plants like citrus or for large and terracotta containers.
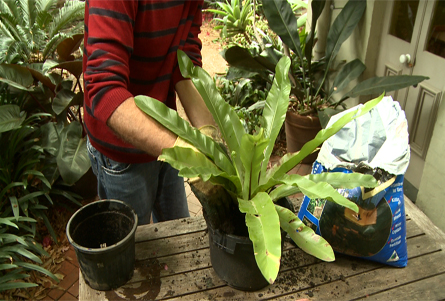

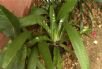

When you're ready, slip the plant out of its old pot without pulling on the stem or damaging the canopy.
Scuff the outside of the root ball to encourage roots to grow outwards. Untangle any roots circling the outside of the ball. Avoid damage but cleanly cut any that won't fit back into the pot.
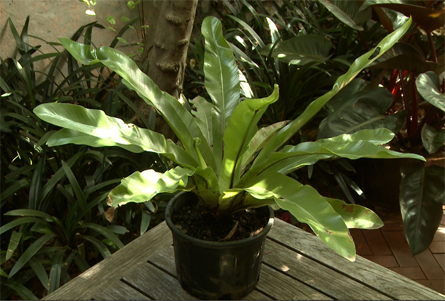
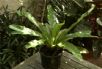
Place the plant in the centre of its new pot. The top of the root ball should sit 2-3cm from the rim and where the stem won't be buried.
Fill under and around the root ball with the potting mix; gently pressing it in as you go to remove large air pockets but without compacting the mix or damaging roots.
Flood the top of the pot to near the rim without disturbing the soil. Let the water infiltrate, then repeat.
Keep the plant well-watered in the first week or two while it will have more difficulty drinking. If it's intended for a sunny spot, let it recover in shade for that time.
Treat roots right and they'll reward you with a healthy plant.
Comments (0)
Tell our Plant Selector what you want & like and we'll search thousands of plant profiles for compatible matches
Special Offers
Plant of the Day
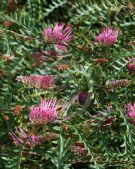
Boongala Spinebill Grevillea
Plant type: evergreen shrub
H: 1.5m W: 3m
Sunlight: hot overhead sun to warm low sun
Member's Tip

Pauline, Maroubra NSW
I always plant a less appealing plant that is attractive to snails next to a more valuable plant. No snail bait needed.
Recently added pots articles
Most viewed pots articles


Get the Plant Selector's full features plus news, forums & competitions. Sign up, it's free.
Click here for more

You must be a member to share: Login or Register